
Affordable Lighting Setups That Make YouTube Videos Look Professional
Good lighting can take your videos from amateur to professional in seconds. But, here’s the thing: you don’t need to spend a fortune on equipment to get high-quality lighting. With the right setups, even on a budget, your videos can shine. For successful YouTuber tips, lighting plays a pivotal role in creating engaging content that keeps viewers coming back.
The Classic Three-Point Lighting Setup
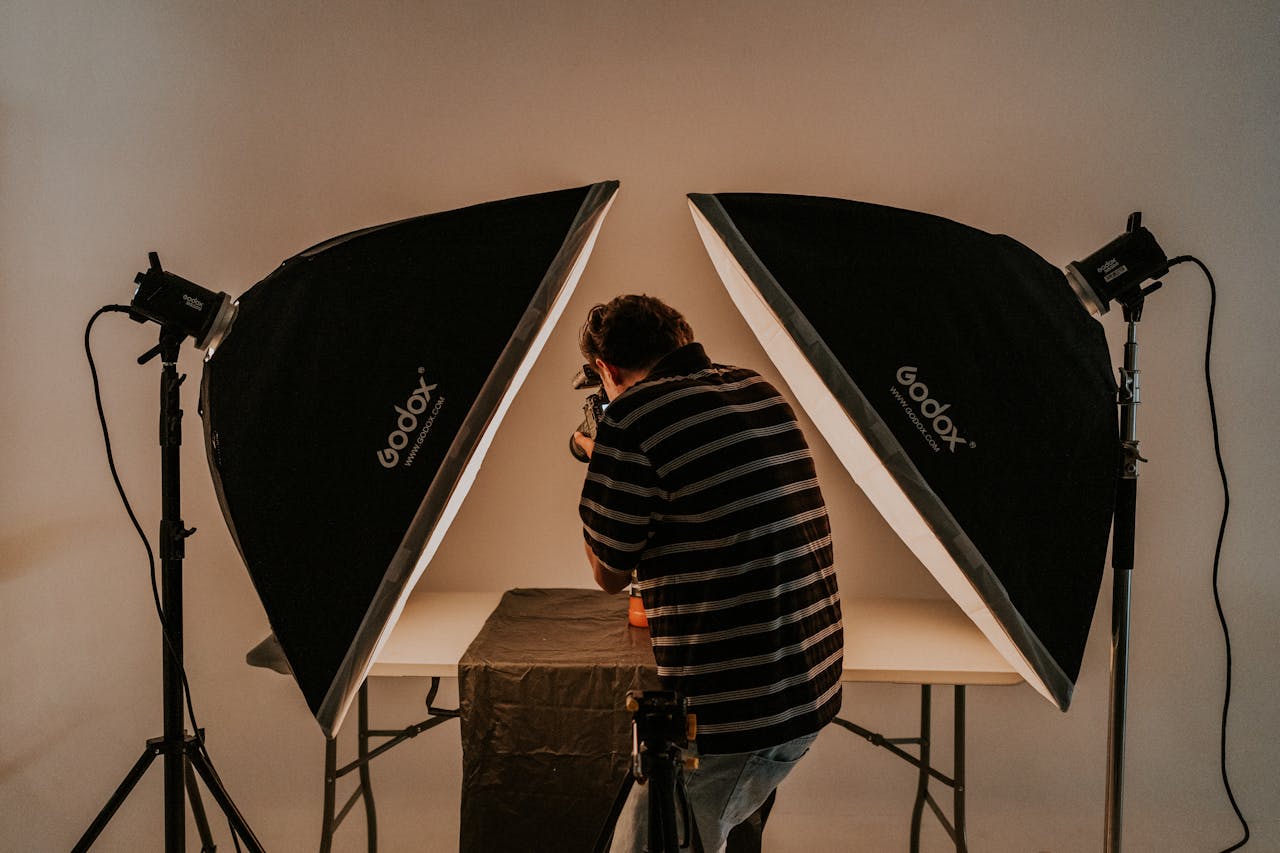
 The three-point lighting setup is a classic technique favored by professional videographers. It involves three essential lights: the key light, fill light, and back light. The key light serves as the primary light source, positioned at a 45-degree angle from the subject. Meanwhile, the fill light is placed on the opposite side of the key light to soften shadows. This reduces harsh shadows and creates a balanced look.
Next, Back Light: Also known as the rim or hair light, it adds depth by highlighting the subject’s outline. You can achieve this setup with affordable lighting kits, such as Neewer 660 LED Kit, or even DIY alternatives using affordable softboxes and LED panels.
Ring Lights for Smooth, Flattering Lighting
For those starting out or working with limited space, a ring light is the go-to affordable option. It provides even, diffused lighting that flatters your face and removes harsh shadows. Ring lights are widely popular among beauty and vlogging YouTubers due to their soft, circular illumination that reduces blemishes and highlights features. Models like the Neewer 18-inch Ring Light or UBeesize Ring Light are highly cost-effective, offering adjustable brightness and color temperature. Simply position the ring light in front of you, and you’re ready to shoot with professional-looking results.
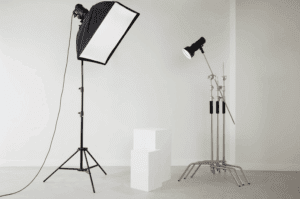
Softbox Lighting for Natural-Looking Videos
For a more natural look, softbox lighting is a fantastic budget-friendly option. These lights diffuse light over a large area, reducing harsh shadows and creating a soft, flattering glow. Softboxes can be used in the three-point setup or on their own for a simple, clean effect. LimoStudio Softbox Lighting Kit is a popular and affordable choice. It comes with adjustable stands and bulbs, and the softbox helps to distribute light evenly, making your videos look bright and smooth. For a more natural aesthetic, you can also mix in daylight bulbs for that warm, inviting glow.
Practical Window Lighting for DIY Creators
If you’re working with a tight budget or don’t want to buy equipment right away, natural light from a window is your best friend. Set up your recording area near a large window and use the natural daylight to your advantage. For softer, diffused light, use sheer curtains or a white sheet to diffuse the sunlight coming through. Make sure to avoid direct sunlight, as it can create harsh shadows and overexposed spots. While this method is free, you’ll want to keep the time of day in mind. Early morning or late afternoon light works best for that soft, flattering effect. And if the weather’s not on your side, you can always complement this setup with an affordable LED light for added consistency.
Great lighting doesn’t have to come with a hefty price tag. By using affordable lighting setups like the three-point lighting system, ring lights, softboxes, or even natural light, you can achieve professional-quality results that make your videos stand out.…